What Is The ALM Accelerator
Following my post last week about Power Platform Pipelines, why not discuss the ALM Accelerator.
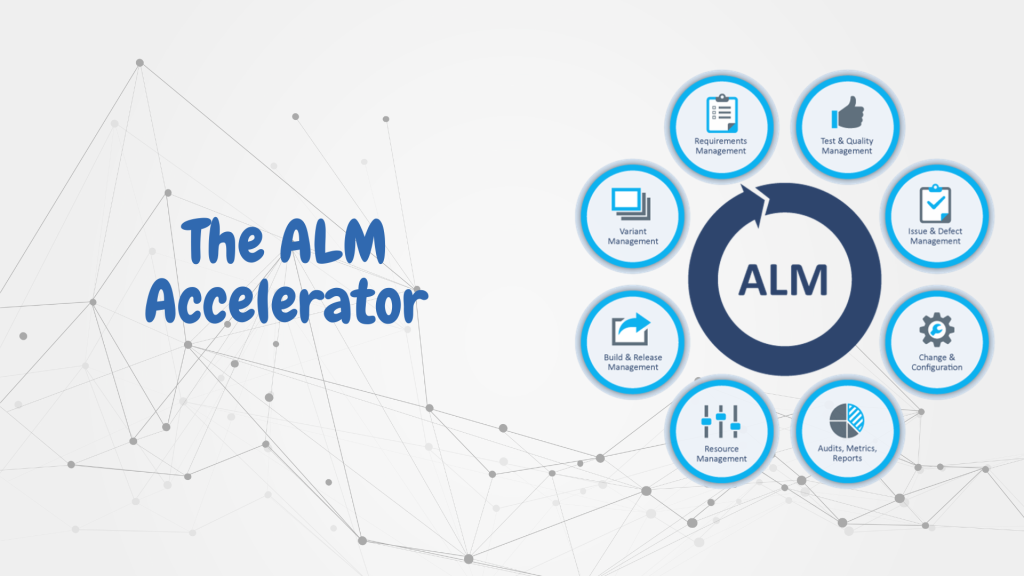
The ALM Accelerator is a tool that forms part of the CoE (Center of Excellence) Starter Kit built by the PowerCAT team, that consists of two Power Apps applications and various other solution objects. The ALM Accelerators purpose is targeted at simplifying both solution deployment and source control from within a single location.
The admin Model-Driven app allows for admins to create solution projects directly in Azure DevOps whilst auto generating Power Build Tools pipeline scripts and DevOps repositories. Whereas the makers Canvas app allows for makers to interact with a refined ALM process through the app itself. This app gives makers the ability to not only deploy solution across their preferred ALM environments, but to also commit the unpacked solutions code directly to the assigned projects repository.
How It Works
Admin – ALM Accelerator for Power Platform Administration (Model-Driven app)
The admin model-driven app is a great tool that allows admins to streamline project management and align solutions, projects and source control. Within the model-driven app, the admin has the ability to add/manage deployment user settings, assign deployment profiles and view deployment requests. This section of the app feeds directly into the makers canvas app applying the assigned permissions and profiles to the listed solutions.
Within the Azure DevOps section of the app, admins can manage existing DevOps projects and create new ones if need be. Using the project wizard, the app takes you through a simple step by step process where you define the parameters for a new project. You’ll need to provide all the required IDs for the project as these will be referenced in the Power Platform Built Tools when unpacking and deploying solutions. Once you have created a new project, you should be able to see team members, your repository and your associated pipelines.
Maker – ALM Accelerator for Power Platform (Canvas app)
From the makes point of view, when they access the canvas application, they can select their specific development/sandbox environment and view their active solutions. The maker can create or add existing profiles to a solution to begin committing code and deploying. The linked profile will guide the pipelines to the correct repositories and environments. Using the maker app, makers can continuously commit code to the project’s repository allowing other developers to easily collaborate if required. When they ready, they can apply the solution configuration and begin the deployment.
The Process
The process around deploying the solution from Sandbox to Prod includes various actions. Before we dive into how it all works, it may be ideal to understand the repository structure first.
To make it very simple, when a new project is created, a repository is generated as well. Within this new repository, two branches will now exist. You’ll have ‘main’ and a branch named after your solution. In each of these branches, you may also see the pipeline configuration files. Ultimately, your production code will live in main. During your development phase, each developer working on a solution can create their own branch named after themselves when making a commit through the ALM Accelerator.
Let’s break it down:
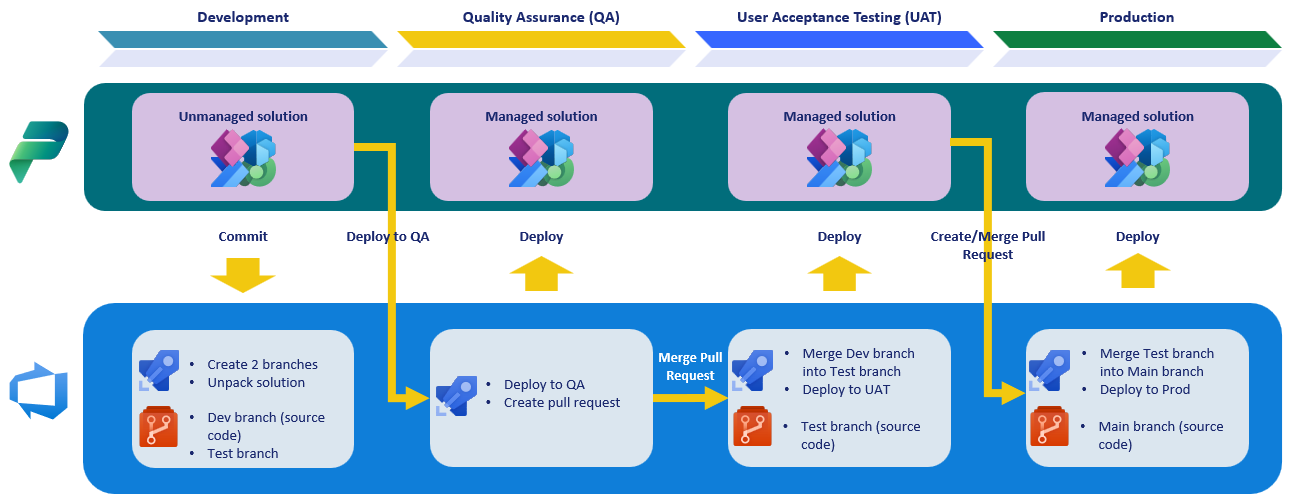
Commit Solution: When a maker commits to a solutions repository, they can create branches based off main for where their code will live. At the same time, they can also define other branches they wish to commit to. When a commit is triggered, a pipeline in the solutions project will reference the solution and unpack it using the Power Platform Build Tools and write the code to the assigned branch.
Deploy Solution: The deploy solution button will prompt the maker to select their targeted branch.
- Deploy to QA: When the maker wants to deploy to QA, they will need to specify the branch named after the solution in the deployment setting. When you define your source branch as your dev branch (i.e., the branch named after your account) and the target branch to the branch named after the solution, the pipelines will do two things:
- Deploy the solution to your QA Environment
- Create a pull request for the admin to complete.
- Deploy to Test/UAT: When you are ready to deploy your solution to Test, you can complete the pull request in the projects DevOps repository and the pipelines will do two more things:
- Merge your dev branch into the branch named after your solution, i.e., the now called “Test” branch.
- Deploy the solution to your defined Test/UAT environment.
- Deploy to Production: Lastly, in order to deploy your solution to production, you need to go back into the ALM Accelerator and press “Deploy Solution” again. This time, you will select your target branch to me man, and your source branch to be the branch named after your solution, i.e., your now called “Test” branch. This will trigger the pipelines to begin deploying the solution to your production environment as well as merge your test branch with main. This now closes your cycle with the most recent live code sitting in main.
Let’s Visualize It
Based on the process identified above, a simplified representation of the process can be visualized below:
Start Your ALM Accelerator Journey
The ALM Accelerator is a great tool to get you started on your ALM processes. It’s a fantastic pre-built solution designed by the PowerCAT team to drive ALM within the Power Platform. To get started, below is the repository for the ALM Accelerator. The PowerCAT team release monthly updates so make sure you subscribe to the new releases. Additionally, they have provided an incredibly detailed guide that will take you through the setup step by step.