
Short Retrospective
So we’ve covered a few topics within Power Platform security so far. Looking back at the posts about Business Units, Security Roles and Dataverse Teams, we’ve built a fundamental understanding of how data can be secured to meet a variety of security requirements. If we stop and think a bit more about it, all the security models we’ve worked on so far revolve around a common factor. Who owns the data?
In my post about Dataverse Teams: A Triple Threat, we discussed how the various team types interact with records and potentially become the owner of a record. In this post, we’re going to dive a bit deeper into understanding record ownership and record assignment.
Who Owns What
In a scenario where we have a custom table that is set to an Organisation record ownership, we don’t really have much more ownership types to work with relating to a record. All we have is the Organisation ID referencing that the record is owned by the Organisation that created it.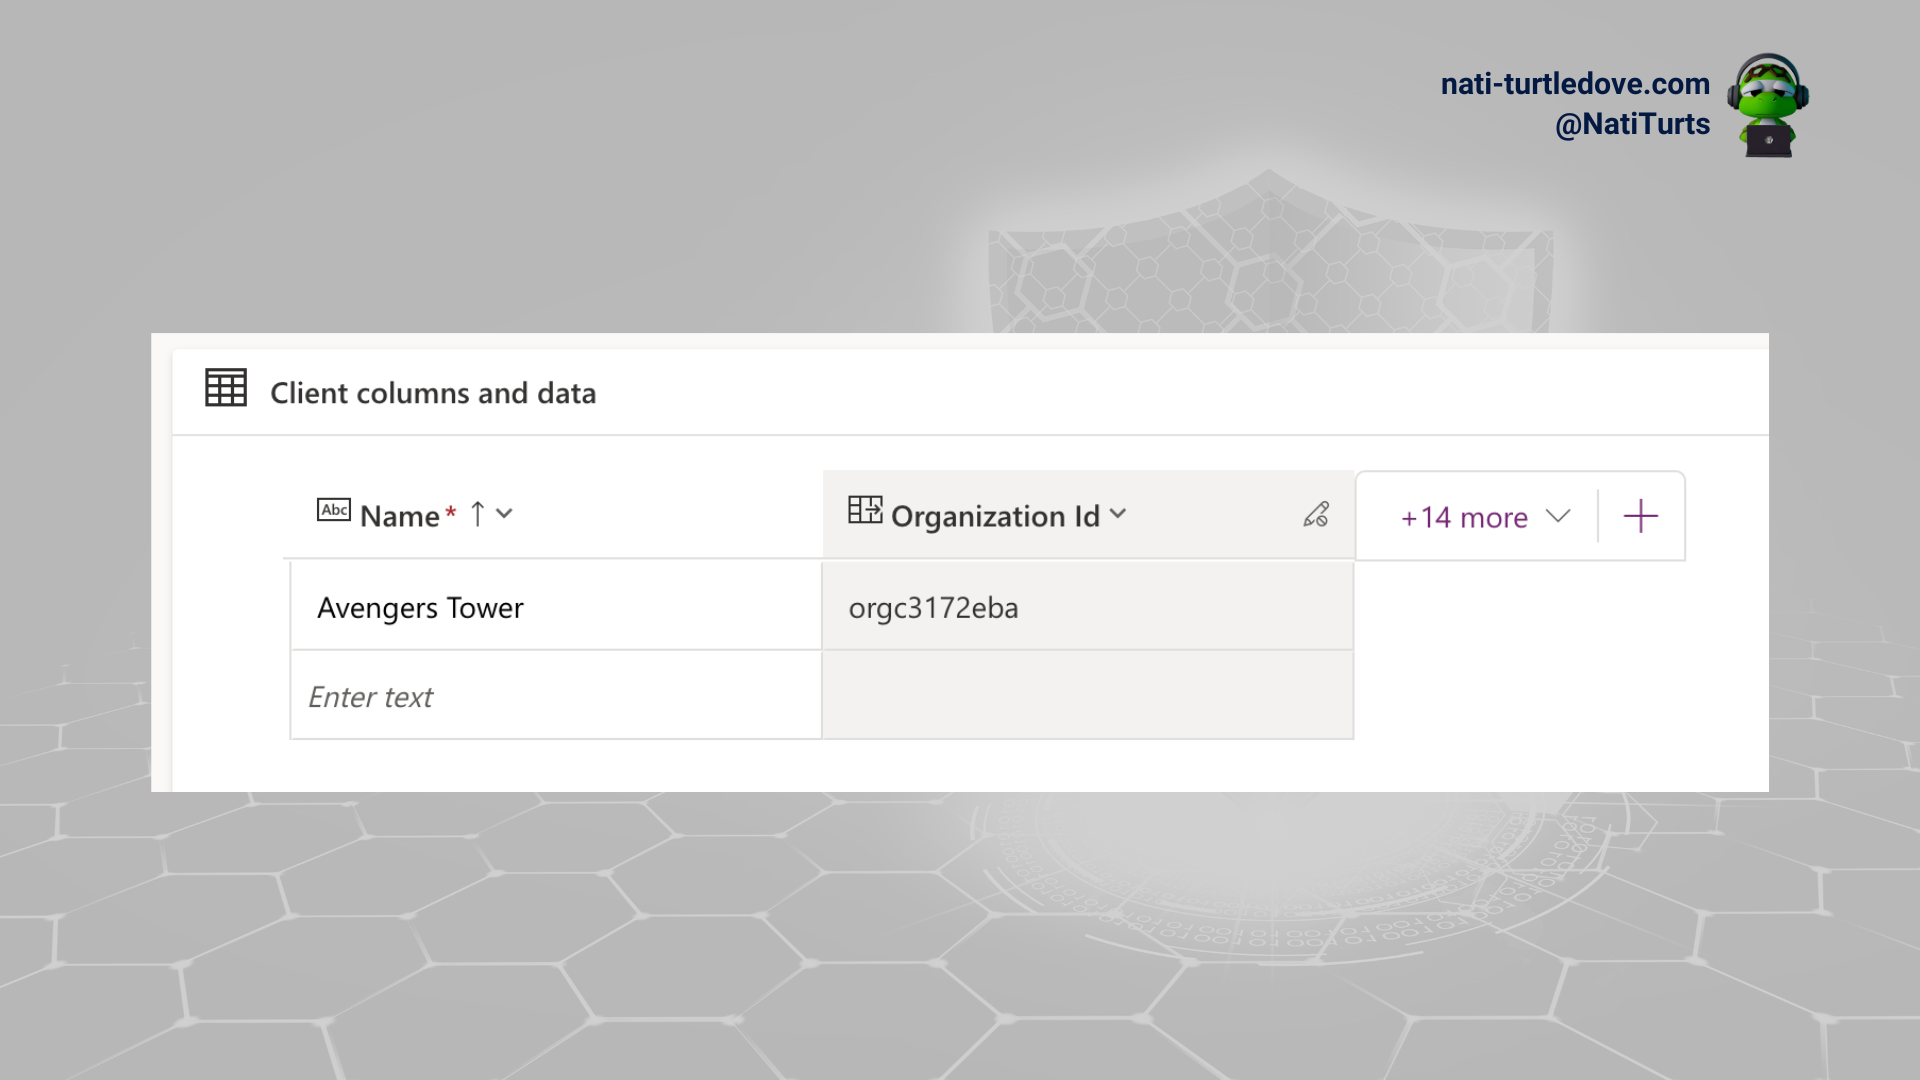
If we look at a table that is User or Team owned, we start to delve into a more exciting schema, one that holds a record owner, owning team, and owning business unit. This data now drives the security roles and other security concepts we touched on earlier. If I create a record as myself in a User or Team owned table, I become the owner of that record, and the record resides in the same business unit I reside in. If Tony creates a record in a User or Team owned table, he becomes the owner of that record, and the record resides in the same business unit he resides in.
Say I create a record but want a team to ultimately own it. I can simply assign the record to that team, and the team becomes the owner. The records business unit will also change to the same business unit the team is assigned to.
The Front-end Process
Considering the basic scenarios explained above, let’s discuss how we can assign records to other users.
Owner column
When creating a record in an MDA, there may be times, and I truly hope they are rare times (unless specifically specified) where the owner fields still live in a form. If I am creating a record that I believe Thor needs to own, I can simply select Thor to be the owner and save the record. Thor will become the records owner, and the records will reside in his assigned business unit.
Assign Button
When viewing a record within an MDA, there is an Assign button that lets you assign a record to both users and teams. Simply select the User or Team option in the Assign to dropdown and find your user or team. When we assign the record to Bruce, as you can expect, Bruce becomes the owner, and the record resides in his assigned business unit.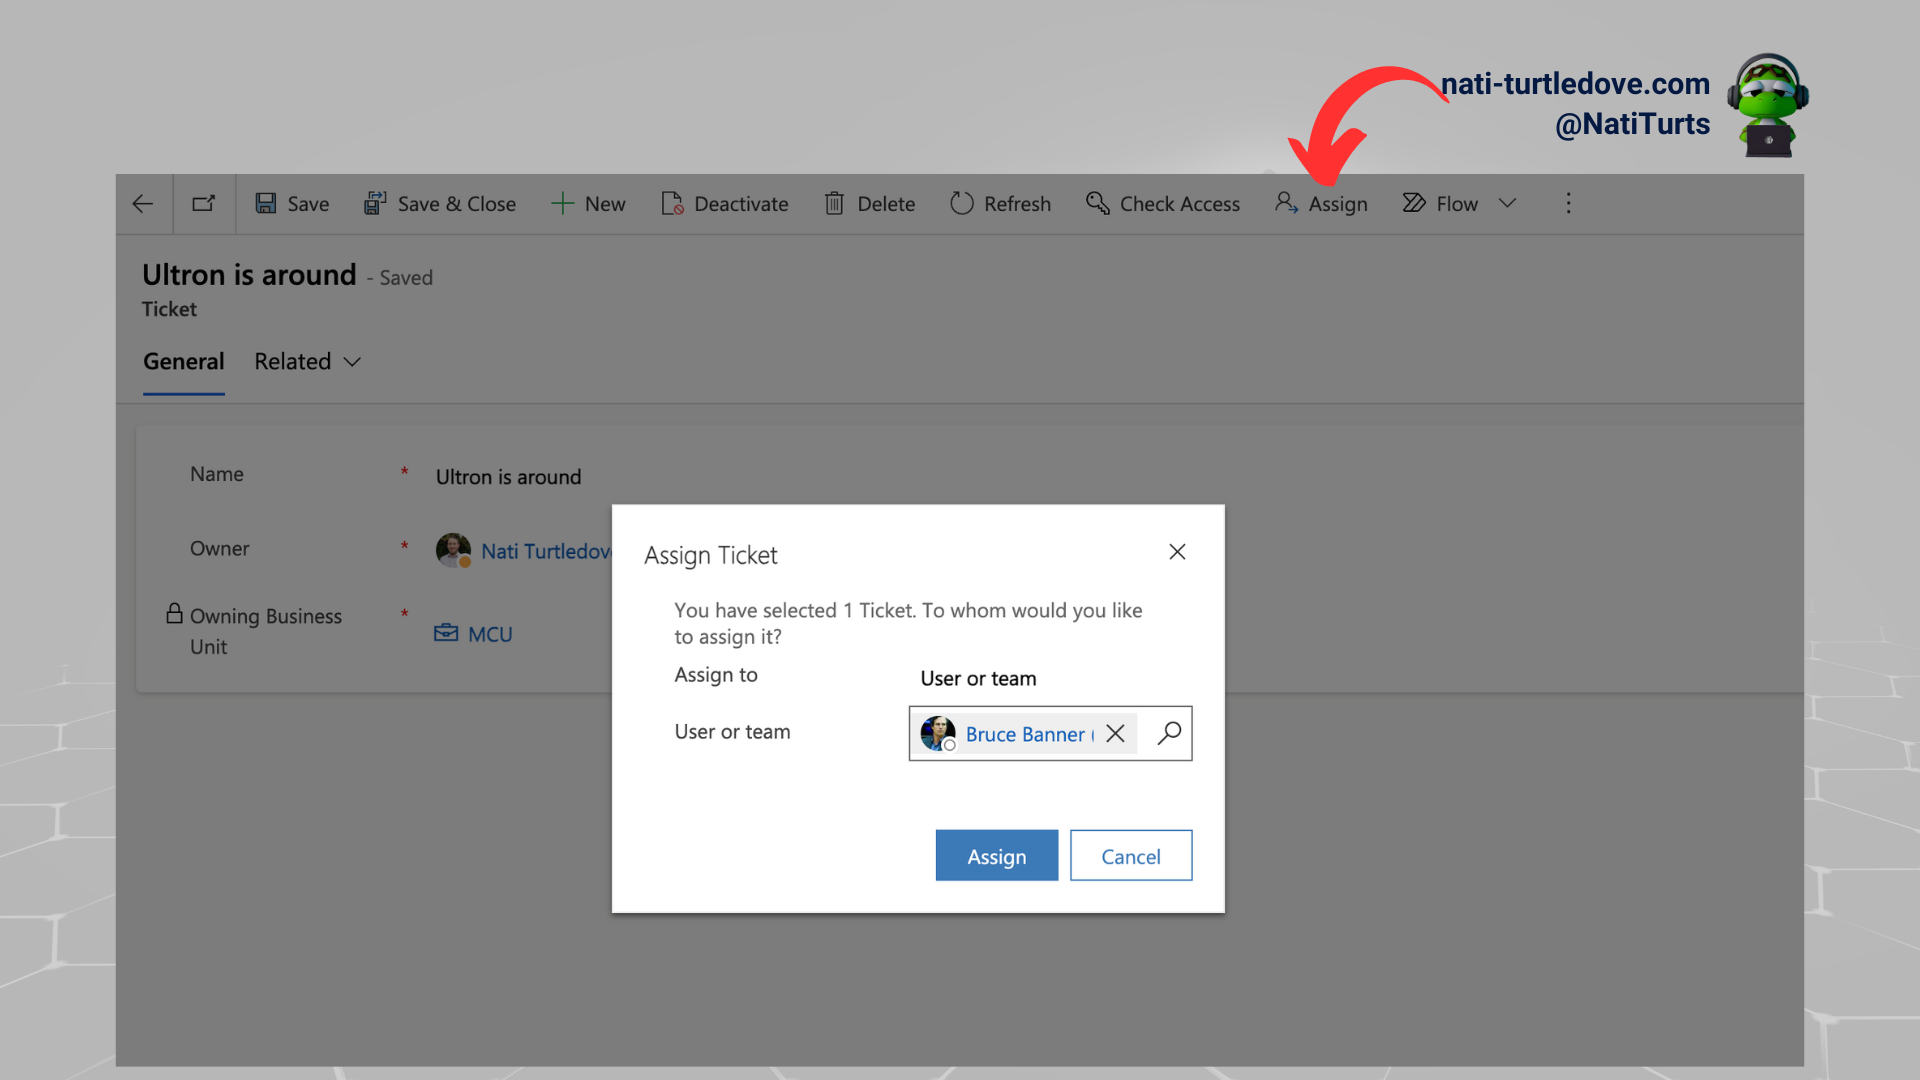
When you, however, select a team from the list, the record then gets assigned to the selected team, and, dare I say it again, the record resides within the team’s assigned business unit. Therefore, all the members of this team have access to this record.
Behind the Scenes
Let’s consider the fact that we have really clean-looking forms and the owner field is actually hidden. Or better off, we have a nice Canvas app that does not have the Assign button in the ribbon. If we need to create a record and assign it to another user, how do we approach that? In this case, we have a ticket being raised, and the ticket needs to be assigned to a hero. I can create the record and select Steve to be the hero within a lookup column, but because I created the record, I now become the owner, and the record resides within my assigned business unit.
There are various ways to streamline record assignments behind the scenes, but let’s focus on process workflows. Within a solution, you can create a new process by selecting New > Automation > Process > Workflow. You will be asked to give your workflow a name and assign it to the table you want to process to occur on; in this case, we’re using the Ticket table.
Let’s take it step by step.
The workflow editor opens up in classic, and we can follow the following steps to get our workflow running:
- Scope: On what level should this workflow run, on a user basis or on an organisation basis? If you set this field to user, you need to make sure that the user triggering this workflow has the appropriate table privileges.
- Start When: When do you want this workflow to run? In our case, we want it to run after a record is created and after other changes are potentially made.
- Record fields change: Being that the workflow is running before or after a change, we can also define what columns it should look at to run. I’ve set the workflow to run after a field is changed, but it is only set to run if the Hero field is updated. This will ensure that only when a new hero is assigned to the ticket will the workflow run.
- Execute as: Who is the workflow running on behalf of? If it’s the user triggering the workflow, they will need appropriate privileges to run workflows and access to the related tables. Other times, you may have a service account that owns the workflow, and the process can run in its name when the execution is set to the owner of the workflow.
- Add Step: A big piece of this process. What is it actually doing? You can add a variety of steps, ranging from creating records to updating records, performing actions, and even triggering other workflows. For now, all we are doing is assigning the record. So we need to select the Assign Record step. This will then be added to the steps table, and keep in mind that you can add more than one step. You can build a whole bunch of conditional steps as well.
- Set Properties: Once the step is added and is pointing to the correct table, in this case the Ticket table, we can continue with setting the assignment properties. Note that by selecting the Set Properties button, another tab will launch.

- Value: Within the Edit Assign Step parameters, we can hit the lookup icon at the end of the value field and start selecting what value we need to insert.
- Form Assistant: Using the Form Assistant on the far right, we can then look for the related tables within the Ticket table and choose what relationship we are looking up against. Because our Hero lookup has a relationship to the standard User table but exists on the Ticket table, we will leave our first Look For value as Ticket. Being that the Hero value is an actual user, the next Look For value can be Hero. Once we select Add and Ok, the reference will add this to the value field. In other scenarios, you may want to reference a relationship in another table first and assign the record to the owner of that lookup value. For example, we could have another table called Weapons, and this table listed all of the avengers weapons but ensured that each avenger was the owner of their weapon. If we created a ticket and instead of assigning it to a hero, we assigned a weapon to be used, but the hero still needs that weapon to own the record, we could set the first Look For value in the Form Assistant to be Weapons, and in the next Look For value, select Owner. This will ensure that when a weapon is chosen for a ticket, the owner of that weapon also becomes the owner of the new ticket.
- Lastly, don’t forget to save and activate the workflow.

I’ve jabbered on quite a lot here, so let’s see the workflow in action. When I create a new ticket and set the hero to be Tony, the workflow will trigger when the record is created and now assign the record to Tony. And, for the last time, the record will reside in Tony’s assigned business unit.
Conclusion
We’ve taken a pretty long journey to cover a really basic concept. It may have been boring, but a walk-through of how users and teams’ own records and how to assign record ownership both manually and through processes is crucial when you are building complex RBAC models. When you bring business units, security roles, teams, and other security concepts together, being able to ensure that data is owned by the right people or teams, and making sure that the data is segmented properly, you can start to let processes drive record assignment and rest assured that your RBAC model is secured without having to be limited to Model-Driven apps and manual assignments.