The current situation…..
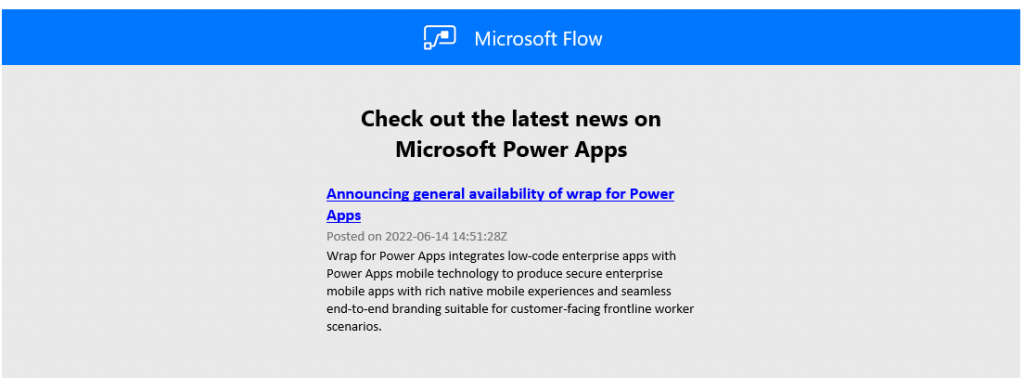
Microsoft Power Automate currently offer a flow template that notifies you via email when there’s a new post on the Power Automate blog. There’s also a flow that can run weekly and collect that weeks updates and compile them into a summarised email.
Now although we can technically change the RSS link to say, the Power Apps blog, the flow will still work, but the email will still use the “Microsoft Flow” email template.
Additionally, I personally could not handle having 6 flows to provide these updates in 6 different emails.
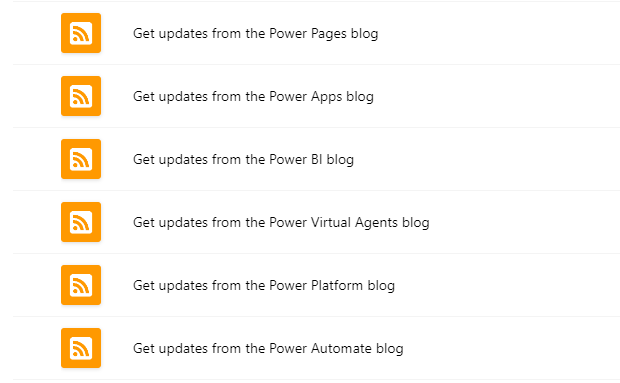
Why can’t we just combine them into a 1 flow and receive emails using our own template? Well, that’s exactly what I did.
All the content for this tutorial can be found in my GitHub repository:
https://github.com/NatiTurts/Weekly-Blog-Update-Power-Automate-Flow
Getting started.
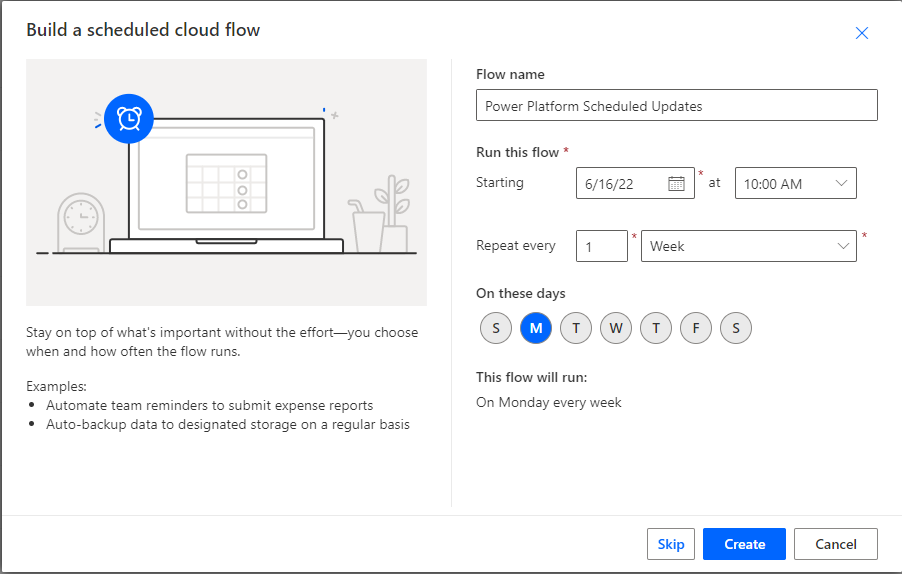
Firstly, we need to create a scheduled flow. For the time being, we going to schedule this flow to run every 1 week on a Monday morning.
Once we’ve created the schedule, we going to add a few variables. For this flow specifically, all our variable types are going to be strings.
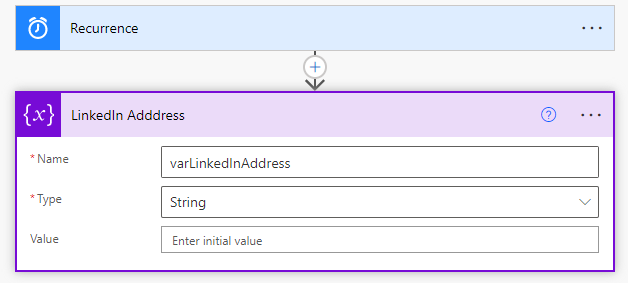
Because we plan on using a HTML template for the email body, I’ve pre-populated a list of variable names that should be used when initialising the variables, which can be downloaded here. It’s crucial that the variable names are spot on as a slight spelling mistake will cause the email body to break.
To start off with, we only going to create the below variables:
- varGitHubAddress
- varYouTubeAddress
- varTwitterAddress
- varLinkedInAddress
- varWebsite
- varLinkedInIcon
- varYouTubeIcon
- varTwitterIcon
- varGithubIconvarHeader
- varEmailSubject
- varFooter
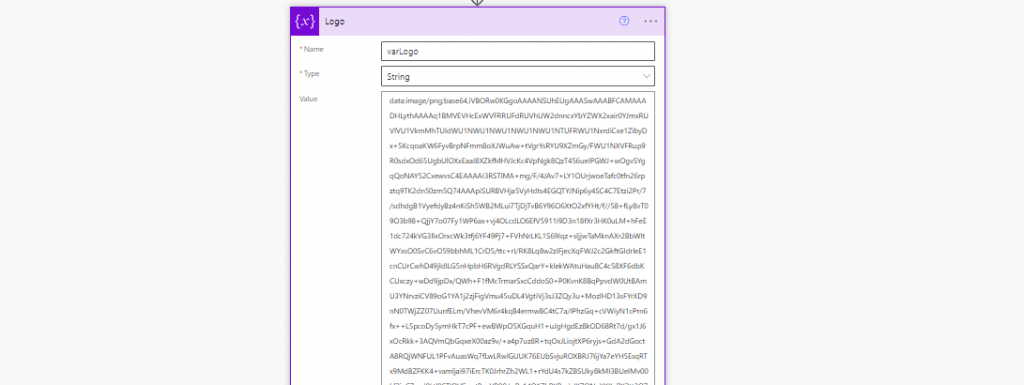
- varLogo
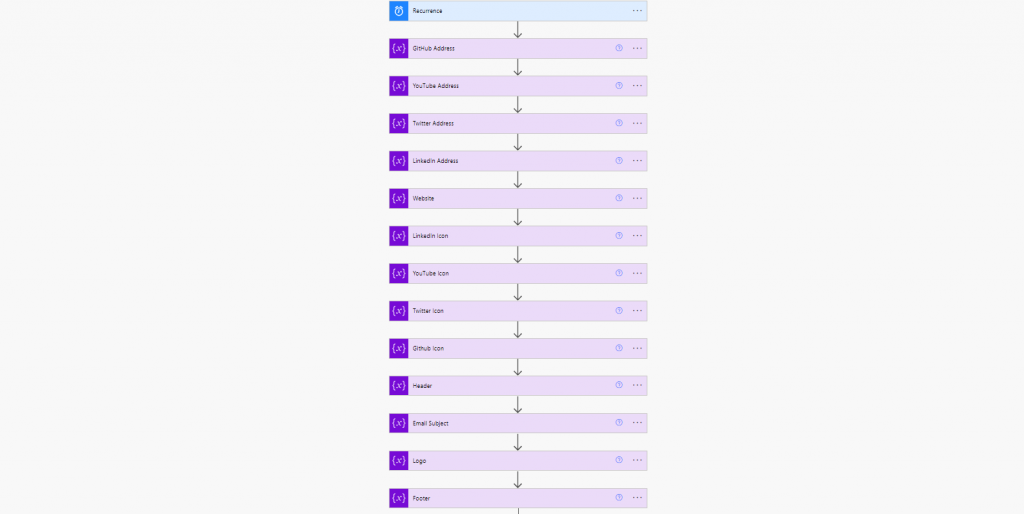
Once these have all been created, your flow should start to look like this:
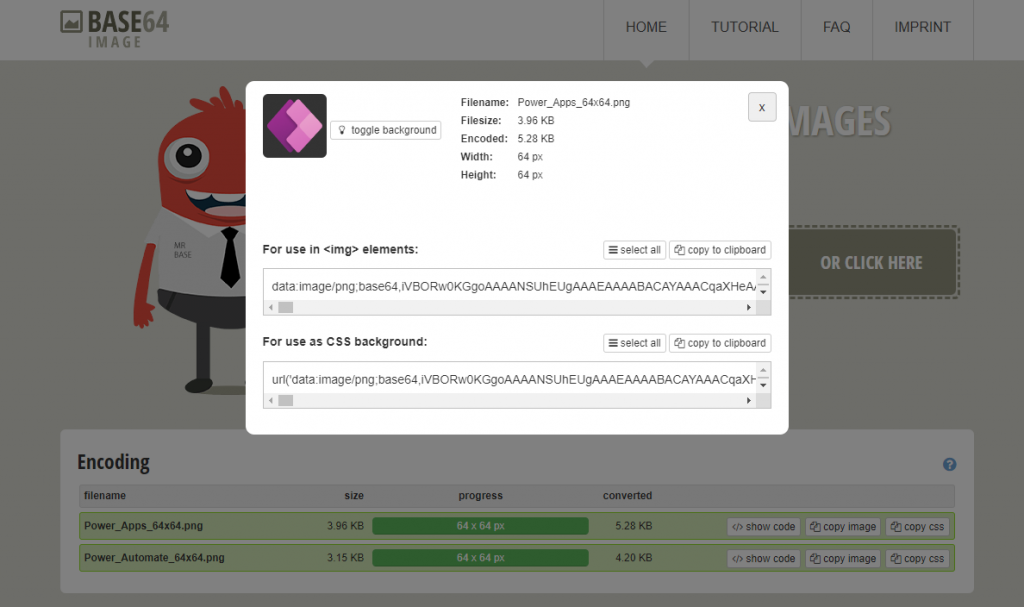
You can fill in an appropriate variable value per variable, however, being that we have some icons and images in our flow, that will eventually be passed to the HTML body, we need to make sure our formatting is acceptable. This means, converting the image files to base64 code. Now, luckily for you, most of the base64 codes for the icons can be found in my repository here. If you want to use your own images, you can simply convert them using the base64-image website.
Alternatively, if you have downloaded the prebuilt flow zip file from my repository here, the base64 codes are already set in certain icon variable values.
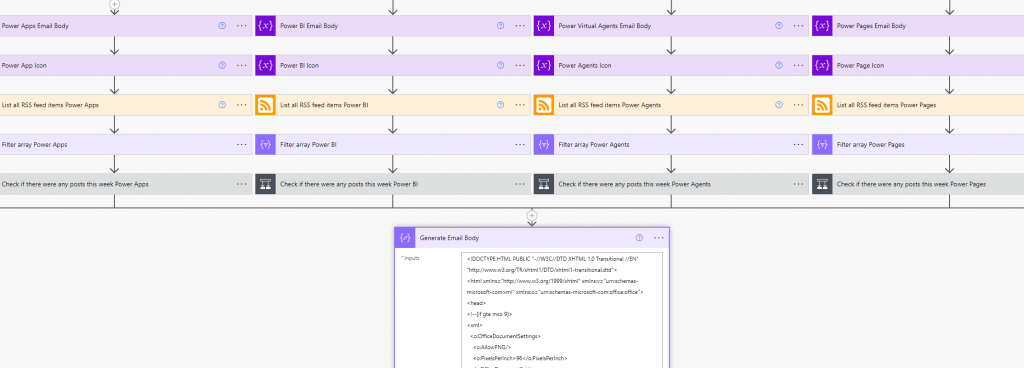
Next, we going to create some parallel branches to set the icon base64 code values for our Power Platform icons. Namely, Power Automate, Power Apps, Power BI, Power Virtual Agents, Power Pages, and a general one for Power Platform. Again, these base64 codes can be find either in my repository here or are pre-populated in the downloaded flow zip file. The flow branching should resemble something like this:
![]()
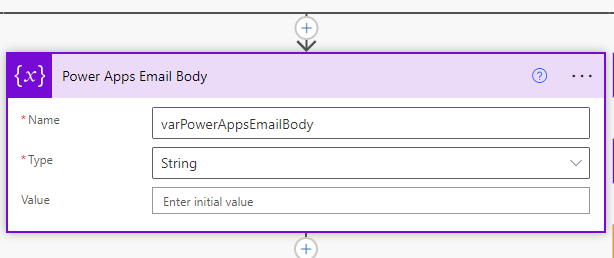
Below each icon variable, we going to start building the process for retrieving the RSS feed for each Power Platform blog. However, we first going to set an email body variable per feed, so we can format the retrieved RSS items into a variable, and later reference it in the HTML body. This keeps our code clean 😁. We will leave this variable blank for now.
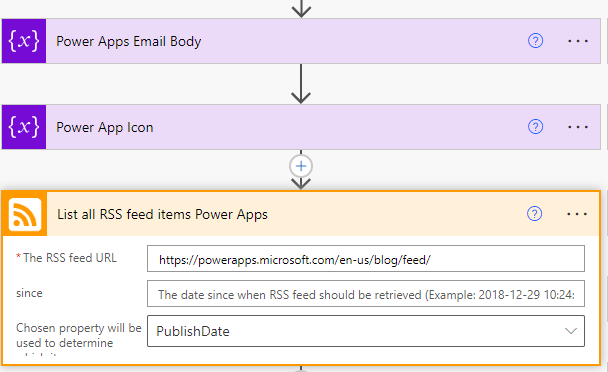
Following this, is the most important step, retrieving the RSS feed from the blogs! Use the “List all RSS feed Items” action in each branch and insert the blogs feed url. A list of each RSS feed can be found in my repository here, else they have are already been inserted if you using the prebuilt flow you downloaded.
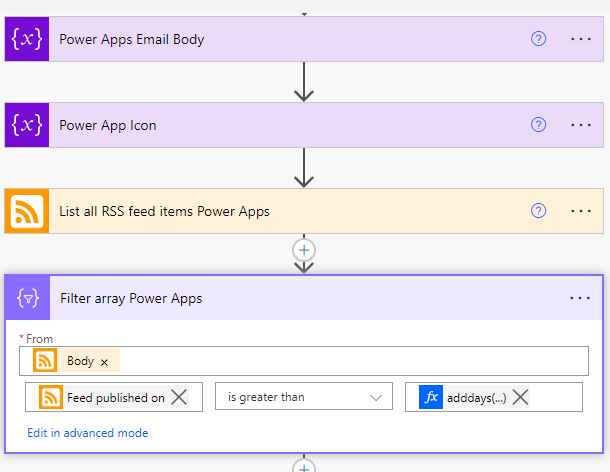
Now, once we retrieve all the feed items, we need to filter the items that were posted during the last week. We going to insert the “Filter Array” action into each branch and filter the output body from the RSS feed. Our expression needs to determine feed items where the published date is equal to today, minus 7 days ago. The expression to determine 7 days ago is adddays(utcnow(), -7)
Once we have filtered the feed to only show items posted in the last week, we need to determine if there is or isn’t any content. We do this by using the “Condition” action where we determine the length of our content count. If it’s equal to 0, there’s no content, if it’s greater than 0, bam, we have our posts. The expression to check if there is any content is as follows, lenght(body(‘Filter_array’))
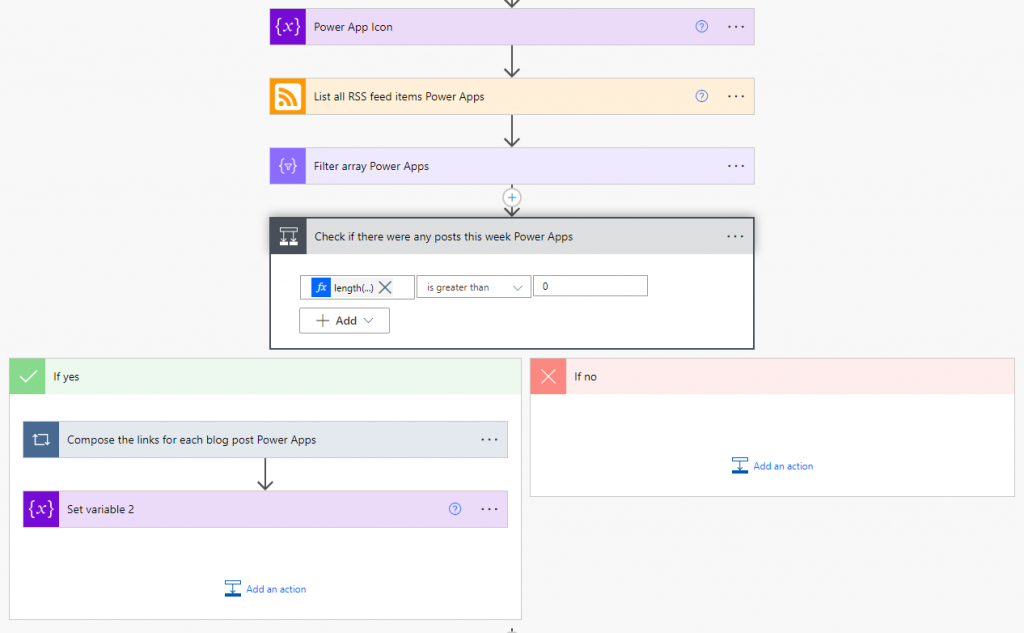
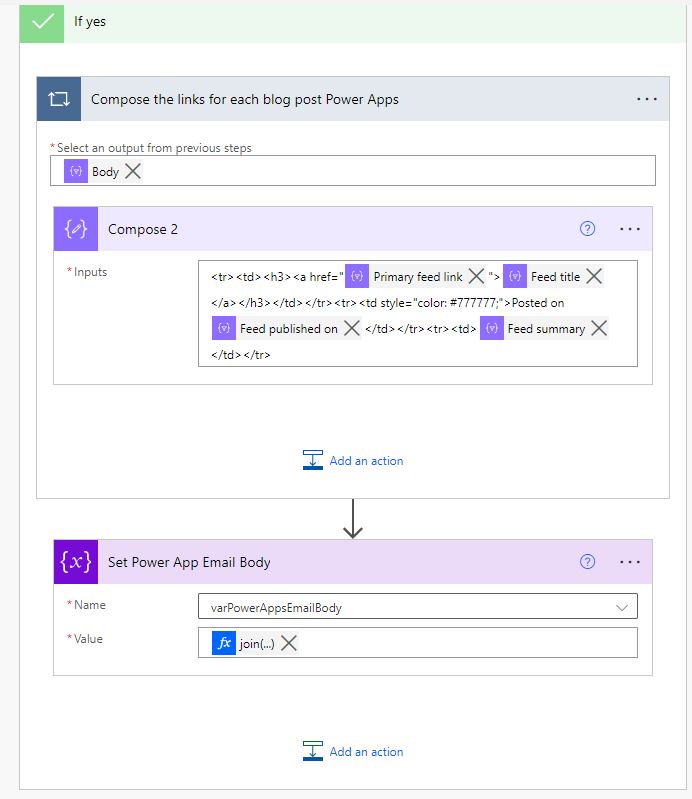
In our “yes” action, we need to apply a “Compose” function to format our items to show the Feed Title, Link, Published Date and Summary. Note that when you insert the “Compose” action, an “Apply to each” action will automatically be created. The output should be the body from the “Filter Array” action. In the compose input, type in the below HTML. Be sure that the dynamic content you place in the HTML is relate to to the branch you are currently in. You can download the HTML here, else it has been pre-populated in the downloaded flow zip file. Once the HTML has been placed in the compose action, we need to set its output the the relevant branches email body variable we created earlier, eg varPowerAppsEmailBody. Ensure that the “Set Variable” action is outside the “Apply to each” action.
Because we could possibly have multiple posts that have been formatted in our previous compose function, we need to join these outputs into one when we assign the outputs to the variable. We can do this by using the following expression in our variable value, join(outputs(‘ Compose’),”). Note that the expressions dynamic content “Compose” will differ with each branch.
Now comes the fun part, the HTML body. We need to now merge our branches back together to compose the HTML body. Once we have created the “Compose” action below all the branches, we can paste the HTML body in the input files. You can download the HTML body from my repository here.
If you would like to design your own HTML template, you can use the site unlayer. Simply build a template you find suits your needs and unlayer will build the HTML for you. (PS, this is how I generated my HTML template 😉).
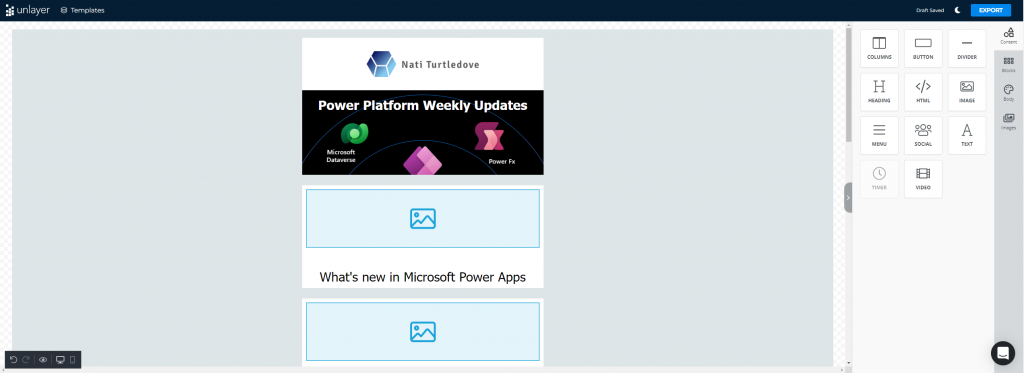
Once you have pasted the HTML template, have a quick scroll through the code in the compose input field to ensure you see all the variables reflecting. If you can’t find some of your variables, there may be an issue with the variable you created 😨.
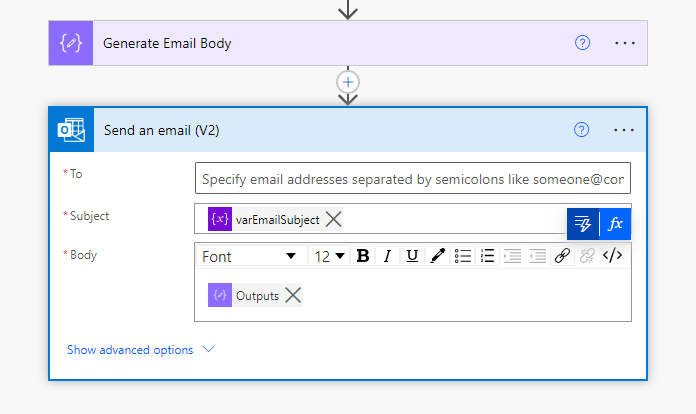
The hard part is done! Now we just need to email it. Add a “Send an email (V2)” action and insert your mailboxes addresses, the varEmailSubject as your email subject, and lastly, place the dynamic content for the compose output into the email body to get that awesome HTML body.
And voila, there you have it, it great looking, dynamic, mobile friendly, summarised weekly blog update with all the content to keep you up to speed with the Microsoft Power Platform.
Now, of course not everyone wants to receive only weekly updates. Me, personally, I want to receive them as they come or even at the end of my day (gives me some nice bedtime content). You can easily adjust the schedule trigger at the beginning of the flow to run as often as you want. Just ensure that you also change the “Filter Array” expressions per branch to accommodate your preferred schedule.
And there you have it.
If you enjoyed this as much as I did, give this post a share and check out my resources, content and social media. I also truly hope that the flow helps you stay up to date with the Power Platform world. I can say for sure, I’m super excited to have decluttered my flows and mailbox.
Well, that’s it from me for today. If you don’t want to miss any new content, or would even prefer to receive a weekly mail using the above flow from me, make sure you subscribe.
Resources:
All Microsoft icons were used with permission from Microsoft as per their terms of use.